For this craft I used:
A burlap canvas
(mine measures 12X12 inches and was
purchased at Wal-Mart for under $5)
freezer paper
fabric of choice
single-sided fusible batting
button, or other embellishment
acrylic paint
I was SO excited when I found these burlap canvases. They were exactly what I was looking for and look how awesomely thick they are!
I am fastly discovering all the amazing uses for freezer paper. This time I used it to cut out my image for the state of Utah. After printing off the image I was using onto freezer paper, I simply ironed it onto the front of the fabric.
Next, I just cut around the image.
I realized later that it probably would have been a lot easier to iron on the whole sheet of freezer paper, instead of cutting the shape out before hand. At least it will be easier next time around!
I love how easily the freezer paper just peeled off... oh freezer paper, I am falling fast in love with your crafting capabilities.
To accomplish the quilting, I fused the single-sided fusible batting to the back of the sihouette (making sure that the fusible side faced the fabric.).
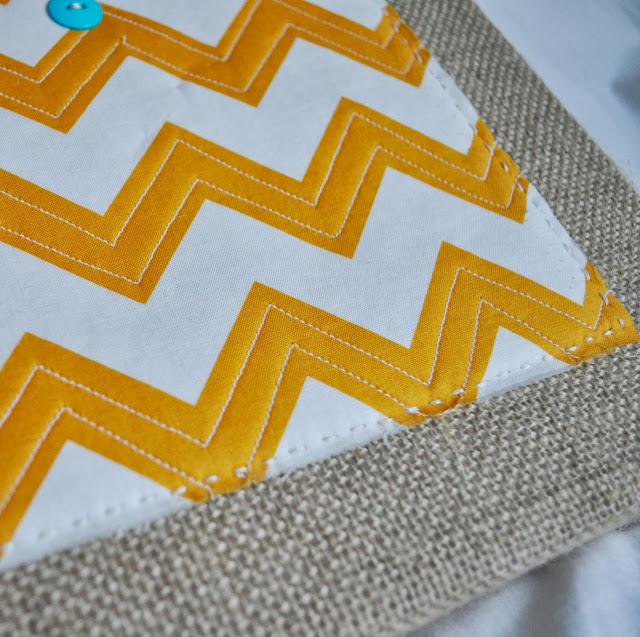
I decided to just quilt along the chevrons.
After I finished, I attached the silhouette onto the burlap by stitching a simple running stitch along the edges. I placed the button roundabouts where the city we lived in was.
I decided that I really wanted to include the name of each state with each silhouette so I used another freezer paper stencil to paint the name on the side of the silhouette (find out how here).
I am so excited with how these turned out and can't wait to do the other three!
As always,
HAPPY CRAFTING!
Linked to:


What a really cute idea!
ReplyDeleteYou did a great job with this...I love the attention to detail! This would be great to link-up to Create It Thursday #22…it's live now! Hope to see you there!
ReplyDeleteThis is awesome plus what a great tutorial! Thank you for linking up to ITS PARTY TIME. I shared your post via G+. xoxo, Three Mango Seeds
ReplyDelete